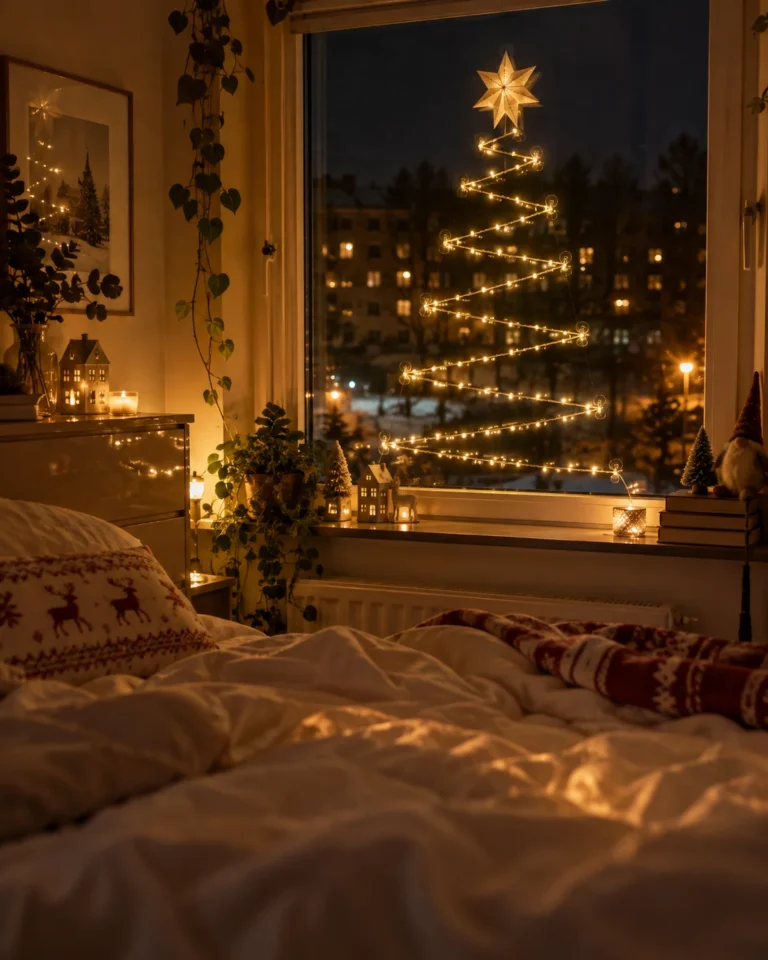
How To Hang Christmas Lights In Your Bedroom Without Damaging the Walls: Easy Renter-Friendly Tricks
You’ve saved about forty Pinterest pins of dreamy bedrooms glowing with fairy lights, and now it’s finally December mood season. Then you look at your walls and remember the lease. Or the fresh paint. Or the landlord who notices every single nail hole.
I’ve been there, standing on the bed with a tangle of lights, wondering how to make it cozy without paying for it later. The good news? Learning how to hang Christmas lights in your bedroom without damaging the walls is way easier than it looks, and you don’t need a toolbox to pull it off.

First, Pick the Right Lights
Before we get to hanging, a quick word on the lights themselves, because this choice makes everything else easier.
- Go LED. They stay cool to the touch, which matters a lot when lights sit near curtains, pillows and bedding.
- Thin copper or silver wire strands are super light, so even small clips hold them easily. They also bend into shapes, which is lovely for headboard designs.
- Battery or USB powered strings free you from hunting for an outlet. You can hang them anywhere and just tuck the battery pack behind a frame or the bed.
- Warm white gives that soft, golden, cozy glow most of us are actually picturing when we save those Pinterest photos.
Little hack: Plug your lights into a cheap outlet timer or use a string with a built-in timer. Your room glows right when you get home, and you never fall asleep with them on all night.
Damage-Free Ways to Hang Your Lights
Here’s a quick look at the methods before we go through each one.
| Method | Best For | Wall Impact |
|---|---|---|
| Command clear clips | Ceiling lines, wall shapes, around windows | None when removed properly |
| Tension rods | Window frames, alcoves, light curtains | Zero, nothing sticks to the wall |
| Clear push pins | Tricky corners, textured walls | Tiny pinholes, easy to fill |
| Furniture wrapping | Headboards, bed frames, mirrors, shelves | Zero |
1. Command Strips and Clear Light Clips
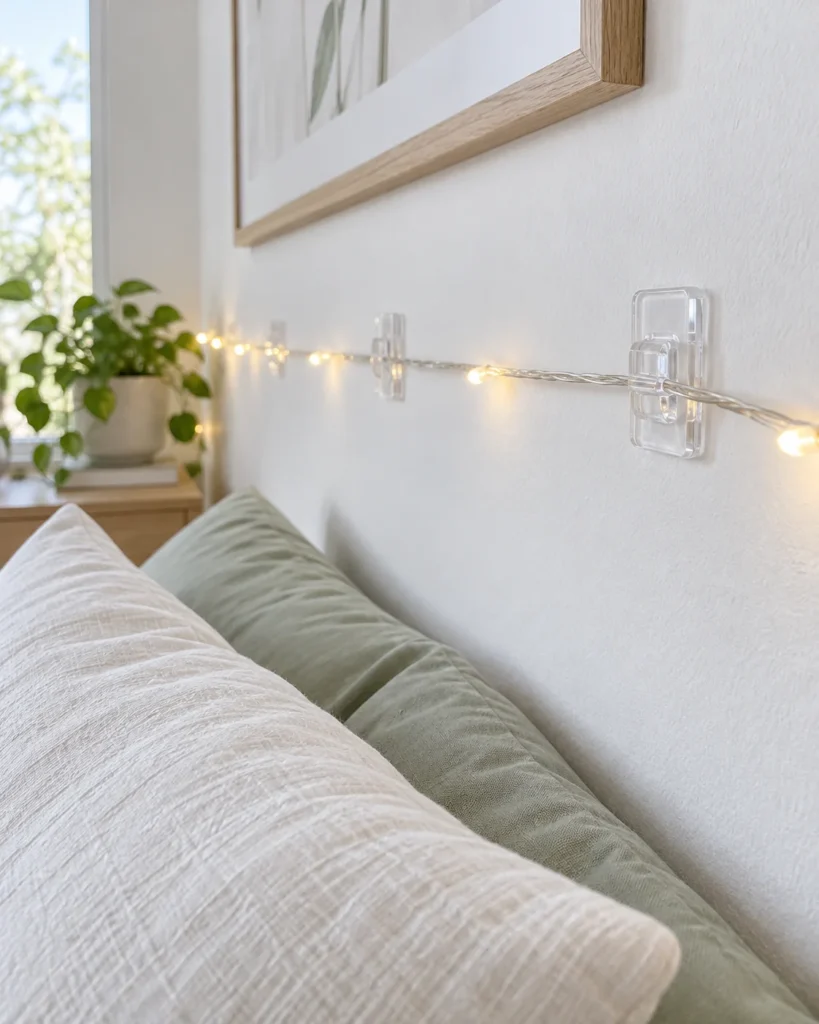
This is my go-to, and probably the reason half the cozy bedrooms on Pinterest exist. Command makes little clear decorating clips made just for string lights, and they almost disappear against the wall.
A few things that make them work so much better:
- Plan your layout first. Lay the lights on the floor or use painter’s tape to mark spots on the wall. It saves you from sticking a clip, hating the spot and wasting it.
- Space clips about a foot apart for a clean line, or closer if you want a scalloped, draped look.
- Press each clip firmly for around 30 seconds. Honestly, this is the step most people rush.
- Wait about an hour before clipping the lights in so the adhesive can grab properly.
Want that soft canopy feel above the bed? Run a line of clips along the ceiling edge and let the lights dip gently between each one. It looks so dreamy at night.
2. Tension Rods
If you don’t want anything touching your walls at all, tension rods are your best friend. They twist and press between two surfaces, so there’s no adhesive and no holes.
- Window frames: Pop a rod inside the frame and hang curtain-style lights straight down. Add a sheer curtain in front for a soft, glowy diffused effect.
- Alcoves and nooks: Got a little reading corner or a bed tucked into a recess? A rod across the top makes the perfect light hanger.
- Closet openings: If your bed sits near one, a rod across the top creates a lit-up frame for the whole wall.
Just twist the lights around the rod loosely or use small zip ties to hold them in place. Snip them off later and you’re done.
Cozy Canopy
Clips along the ceiling with lights draped loosely above the bed.
Window Curtain
Tension rod plus curtain lights and a sheer panel in front.
Headboard Glow
Lights wrapped around the frame, no wall contact at all.
3. Transparent Push Pins and Wire Clips
Okay, these do make a hole, but it’s so tiny it usually disappears with a dab of spackle or even a bit of white toothpaste in a pinch. They’re really handy for textured walls where adhesive won’t stick well.
- Choose clear pins so they blend in with the wall.
- Look for pins with a little hook or wire clip on the end. They hold the cord without you having to stab through the wire, which you should never do.
- Push them in at a slight upward angle so the lights don’t slide off.
- Check your lease first. Most landlords are fine with pinholes, but it’s worth a quick look.
4. Use Your Furniture Instead
Sometimes the easiest answer is to skip the wall completely. Your bedroom is already full of things that can hold lights.
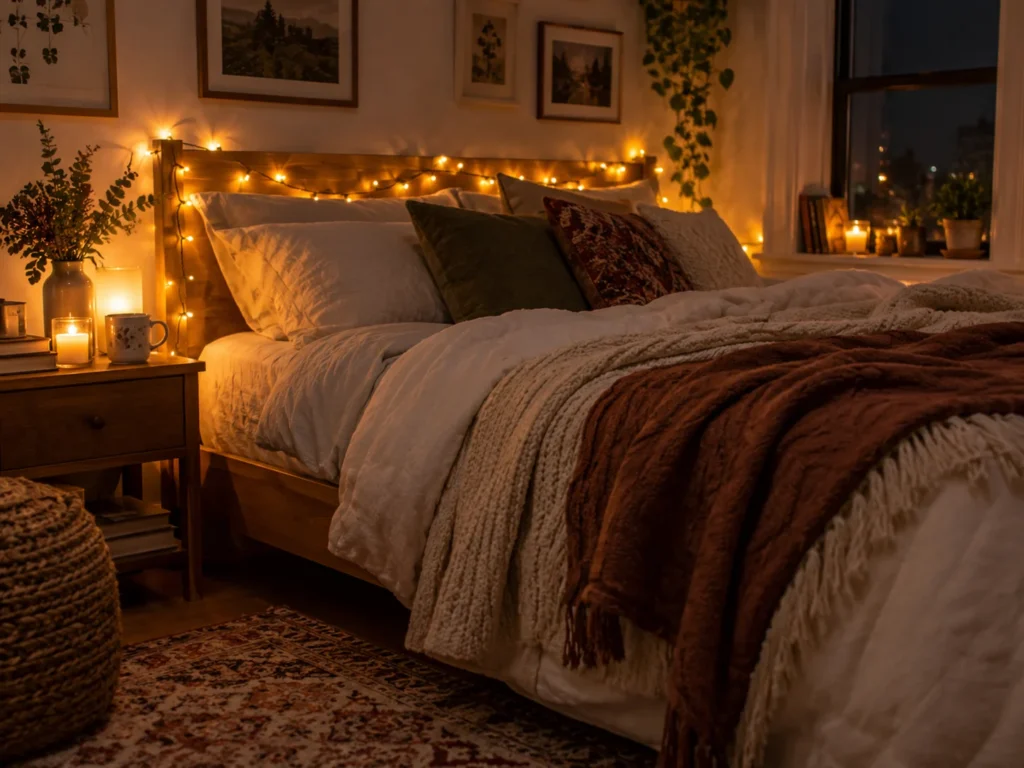
- Wrap the headboard or weave lights through the slats of a bed frame.
- Drape a string around a floor mirror for a vanity vibe.
- Fill a glass jar or lantern with a battery string for a soft bedside glow.
- Loop lights along a bookshelf or across the top of a wardrobe.
If you’re hunting for more ideas to make your space feel warm and lived-in, I share plenty of easy, budget-friendly room styling over at Comfy Home Decors. It’s a nice place to grab inspiration before you start clipping things up.
Pro Tips and Common Mistakes to Avoid
This is where most wall damage actually happens. Not during hanging, but because of tiny skipped steps.
Skip These Mistakes
✗ Sticking clips on a dusty or greasy wall
✗ Using adhesive on freshly painted walls
✗ Using regular tape or duct tape to hold lights
✗ Hanging heavy strands on small clips
✗ Yanking strips straight off the wall
Prep the Surface With Rubbing Alcohol
Walls look clean, but they collect a thin layer of dust and oil from hands, cooking and general life. Wipe each spot with a little isopropyl rubbing alcohol on a cotton pad and let it dry fully. Skip household cleaners, since they can leave a slippery film that stops the adhesive from sticking.
Give New Paint Time
If your walls were painted recently, hold off on adhesive for about a week. Paint that hasn’t fully cured can peel right off with the strip later.
Never Use Regular Tape
I know it’s tempting at midnight. But clear tape and duct tape love to take paint with them, and they lose grip as the room warms up, so your lights end up sagging anyway.
Remove Strips the Safe Way
When the season’s over, this one technique saves your walls. Command strips are built to stretch, not peel.
Step 1
Unclip the lights and lift the hook off the strip if it slides off.
Step 2
Hold the base gently against the wall with one hand.
Step 3
Pull the tab straight down, slowly, keeping it flat against the wall.
Step 4
Keep stretching until it lets go on its own. No pulling outward.
If a strip feels stuck, don’t force it. A few seconds of warm air from a hair dryer softens the adhesive, and it’ll stretch out much more easily.
Quick FAQ
Can I leave Christmas lights up all year in my bedroom?
Absolutely. Warm white fairy lights don’t scream holiday, so lots of people keep them up as everyday mood lighting. Just stick with LEDs and a timer.
Will Command strips work on textured walls?
Not very well. Adhesive needs a smooth surface to grip. On textured walls, tension rods, furniture wrapping or tiny clear push pins are a better bet.
Are fairy lights safe near my bed?
LED lights stay cool, so they’re generally fine near bedding. Still, keep plugs and battery packs uncovered, and switch them off or use a timer overnight.
Final Thoughts
A cozy, glowing bedroom really doesn’t have to cost you your security deposit. With a few clear clips, a tension rod or two and a little patience during prep, you can get that soft Pinterest look and take it all down later like it was never there. Start small, maybe just above the bed, and add more once you see how good it feels to fall asleep in that warm light.
And if you’re in the mood to keep making your space feel extra snug this season, come say hi at Comfy Home Decors for more aesthetic room ideas and easy decor inspiration. Happy decorating, friend! ✨